
Fall brings cozy sweaters, crisp air, and inventive educational opportunities. One activity stands out since it combines seasonal fun with imparting early literacy skills: the pumpkin name craft. Young learners connect to their own names, celebrating autumn in this most engaging project that is simple.
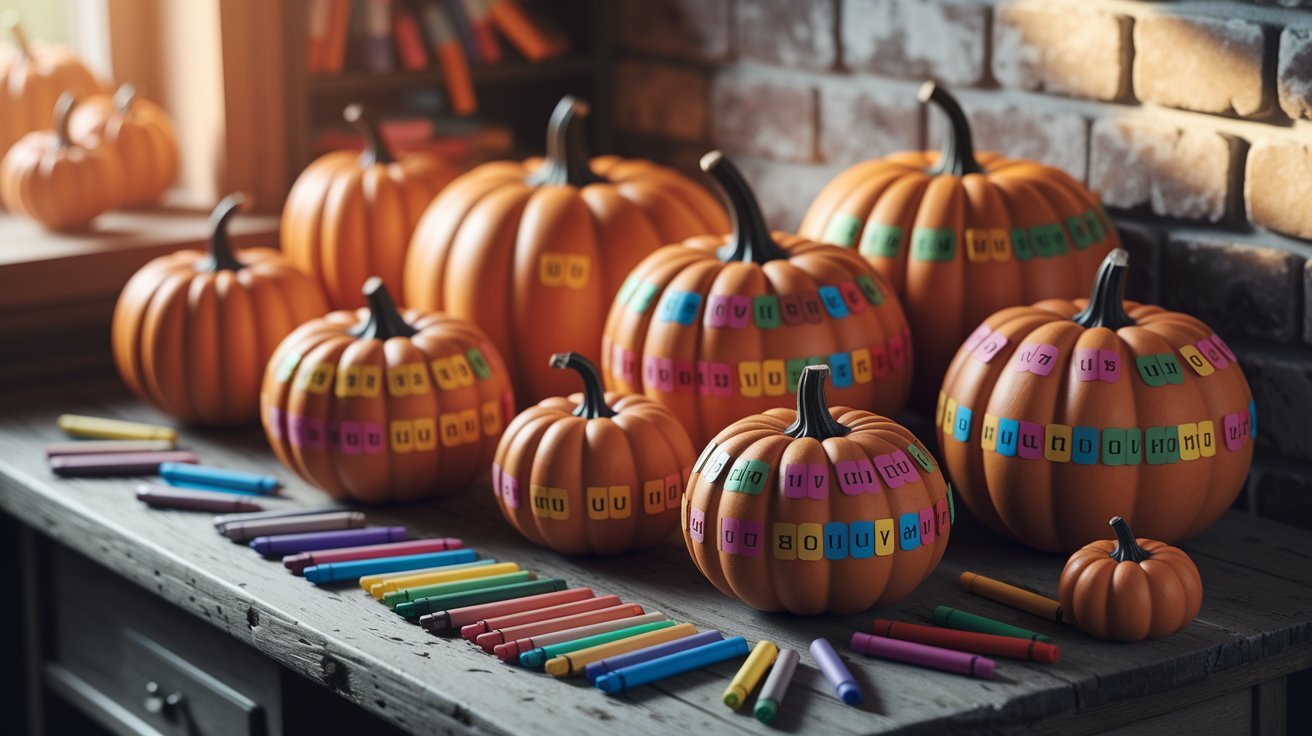
In order to create a personalized fall decoration, a pumpkin name craft uses letters that are from the child’s name. Children put letters on pumpkins or on the pumpkin’s shell, and learning is like fun. Families likely own the needed basic items to do the activity.
This craft turns name recognition into something of. It also yields an exciting practical exercise. Seeing that their names are displayed on something that children created makes them feel quite proud. The orange pumpkins with autumn colors make learning memorable.
What is a Pumpkin Name Craft?
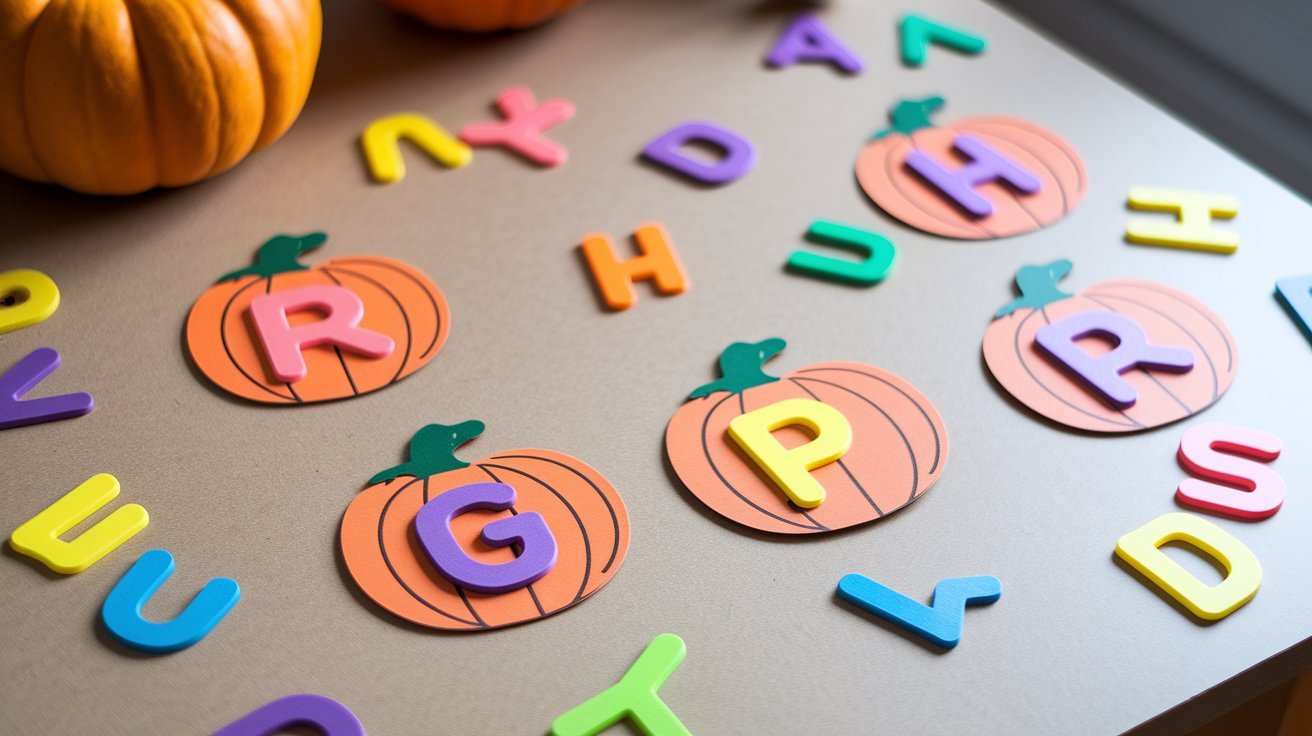
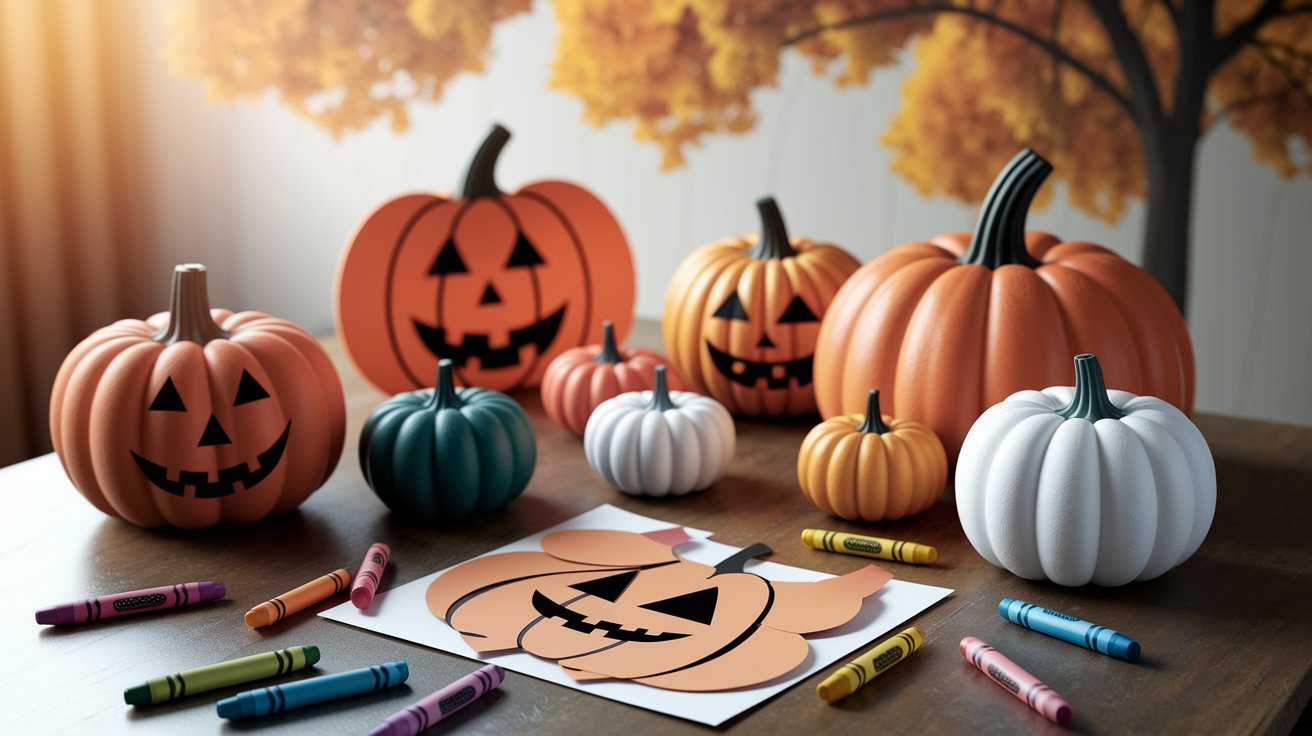
A pumpkin name craft is just a fall-themed activity in which children use letters from their very own names and personalize pumpkins. Kids are those who write or place letters on seeds after pumpkin shapes are cut out. Then, their unique creations are assembled. In this simple project, early reading skills are combined with the art.
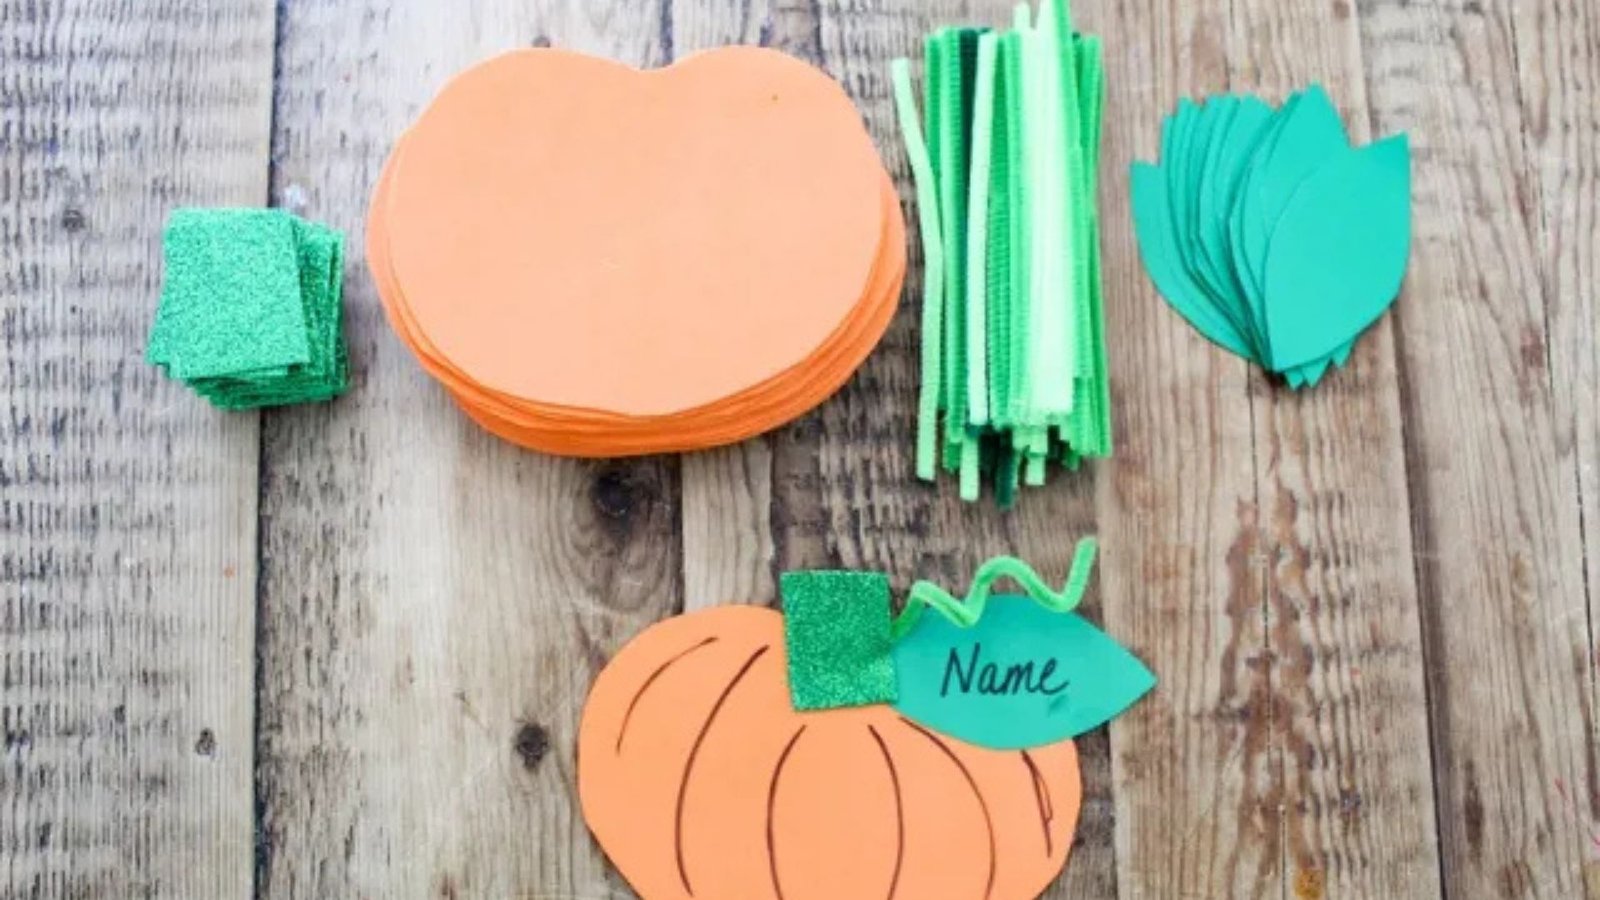
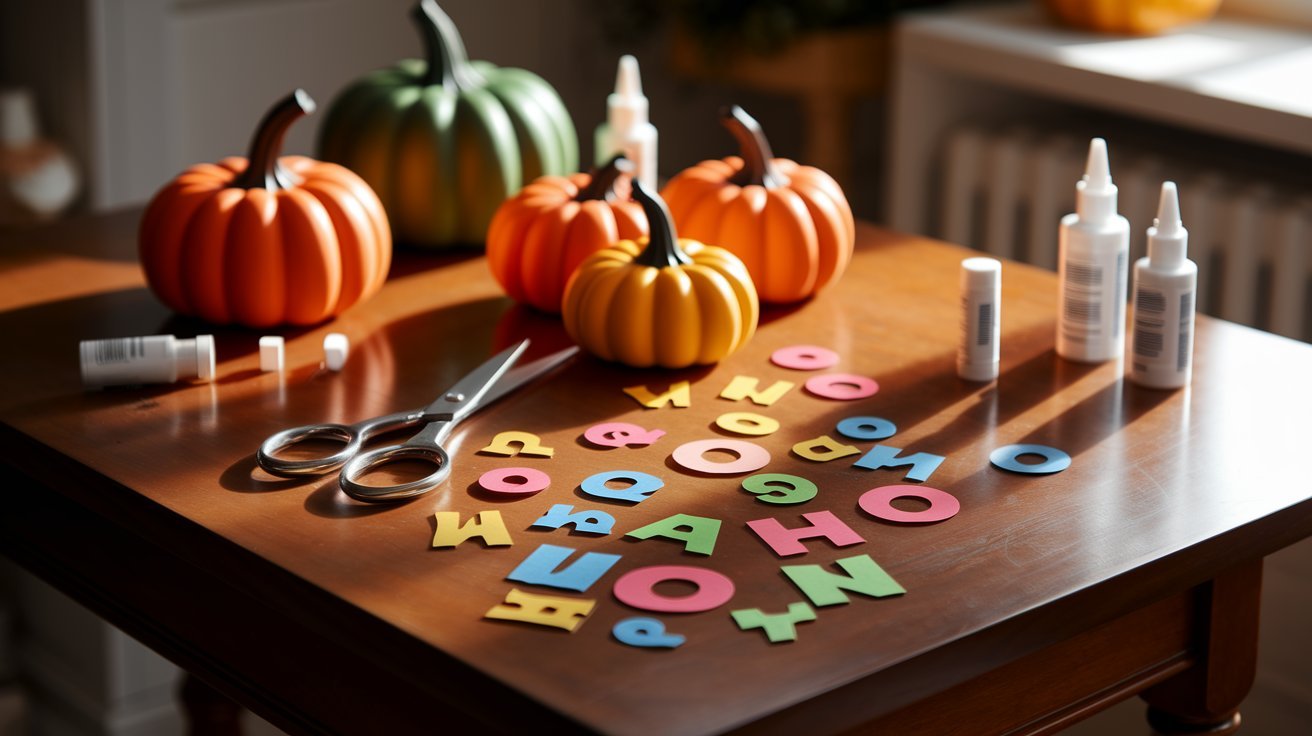
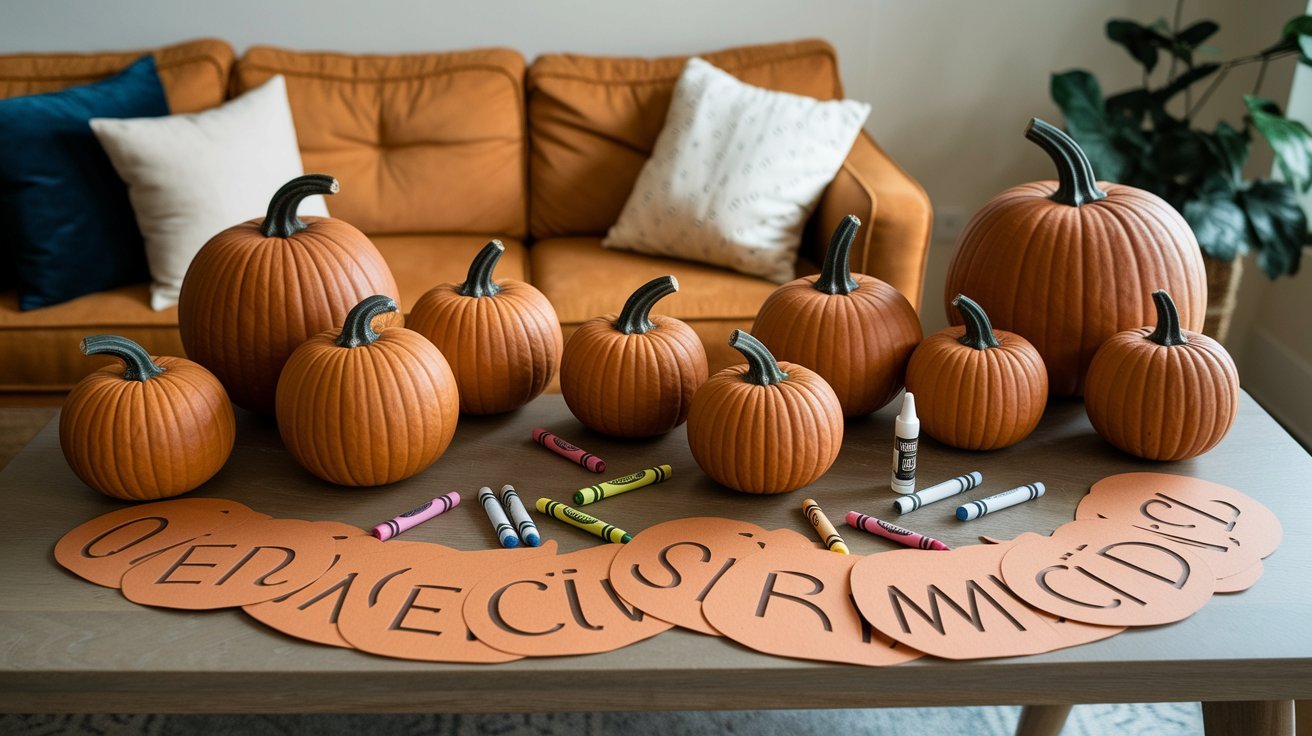
Coloring supplies, glue, scissors, seeds or letters, with a pumpkin template are core materials. Most items are common classroom or household materials. You can draw pumpkin shapes you make, or print free online templates.
This activity works well since it makes practicing names enjoyable. Practicing is enjoyable for students, so names need no repetition. Children stay engaged whenever they cut, color, as well as decorate. The seasonal theme adds excitement to what might otherwise feel like regular letter practice.
How to Make a Pumpkin Name Craft?
Making this craft follows a straightforward process that even young children can complete with minimal help.
Materials You’ll Need
Templates come in two main forms: downloadable printables or hand-drawn designs. Downloadable options save time and provide consistent shapes. Hand-drawn versions let you customize sizes and add personal touches to each pumpkin.
Choose paper types based on your needs and available supplies. Orange construction paper creates sturdy pumpkins that hold up well. Regular printer paper works fine if you plan to color the pumpkins. Cardstock adds extra durability for classroom displays.
Gather assembly supplies before starting to keep the process smooth. You’ll need child-safe scissors, glue sticks or liquid glue, and markers or crayons. Having everything ready prevents interruptions and keeps children focused on the activity.
Simple Instructions
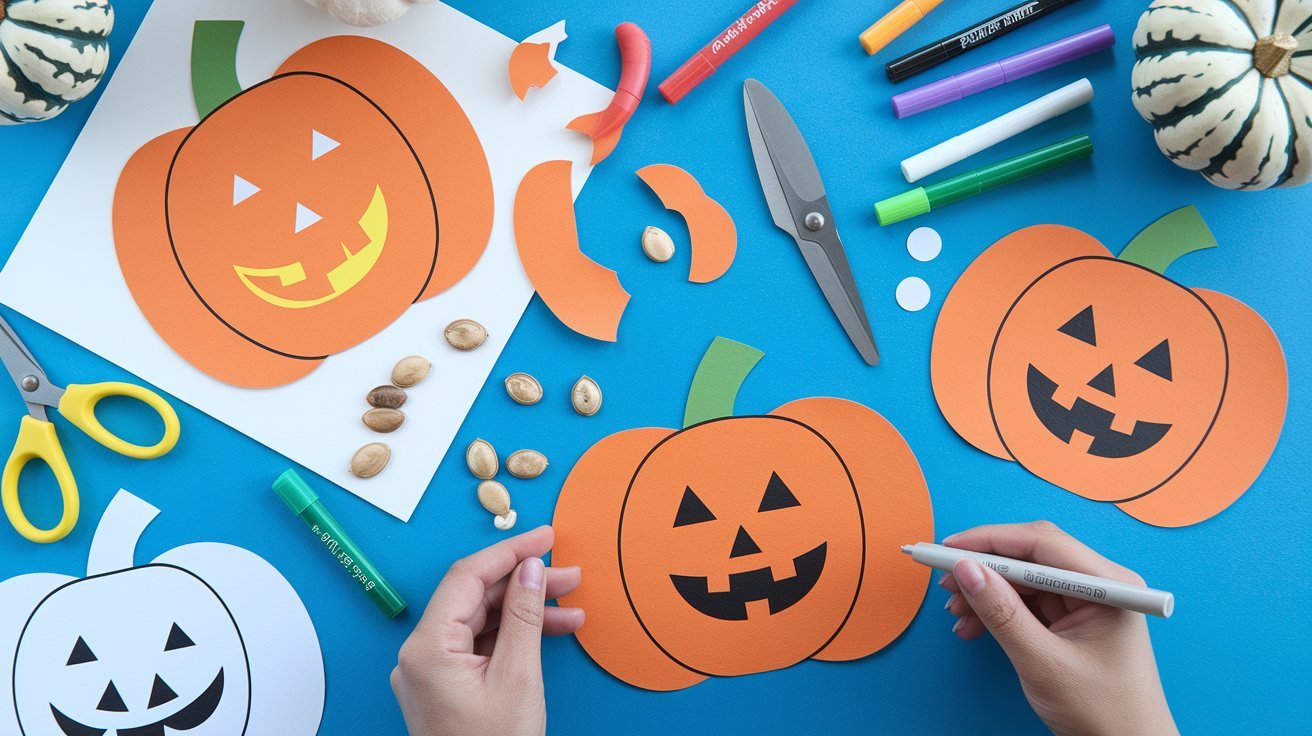
Start by printing or drawing your pumpkin template on appropriate paper. If using downloadable templates, check that your printer settings match the desired size. For hand-drawn versions, trace around circular objects to create the basic pumpkin shape.
Cut out the pumpkin pieces carefully, helping younger children as needed. The main body forms the base of your craft. Cut separate seed shapes if your design includes seeds with letters. Some templates have the seeds already attached to print.
Add letters to the seeds or directly onto the pumpkin body to spell the child’s name. You can write letters with markers, use letter stickers, or cut out printed letters. Arrange everything before gluing to make sure the spacing looks right.
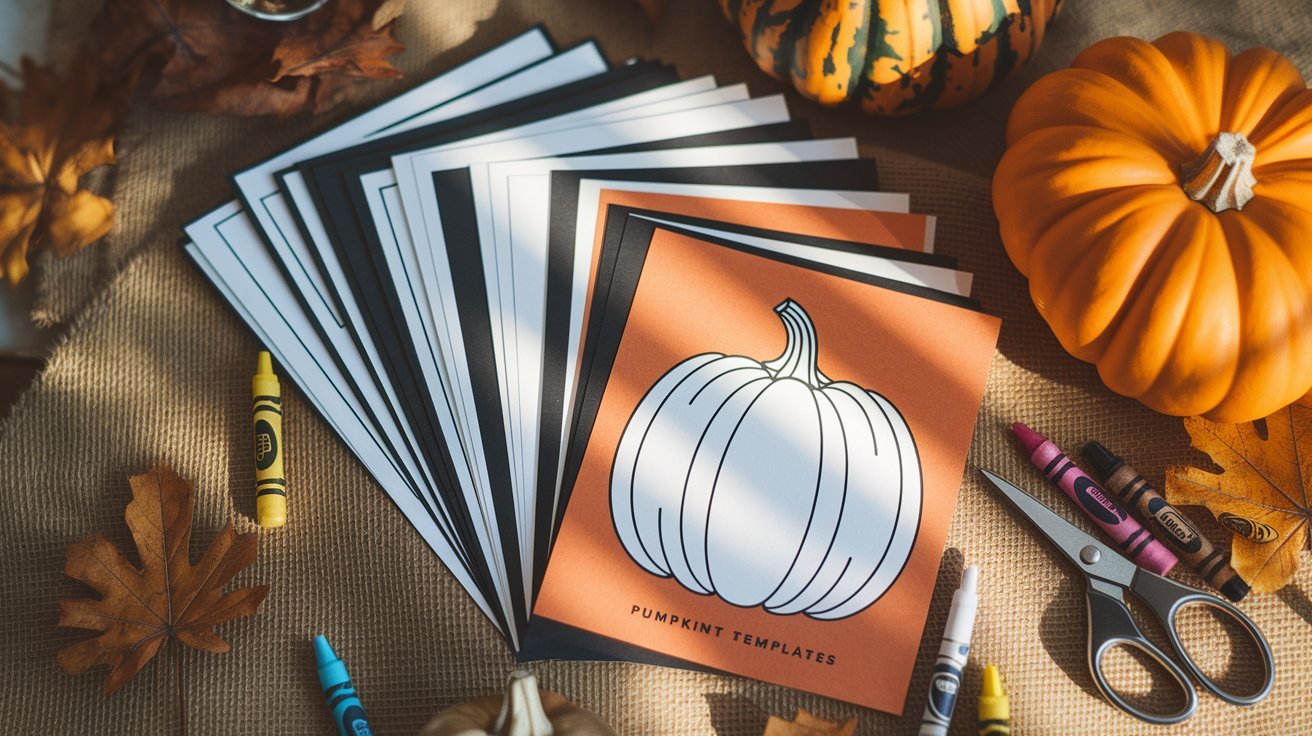
Template Options
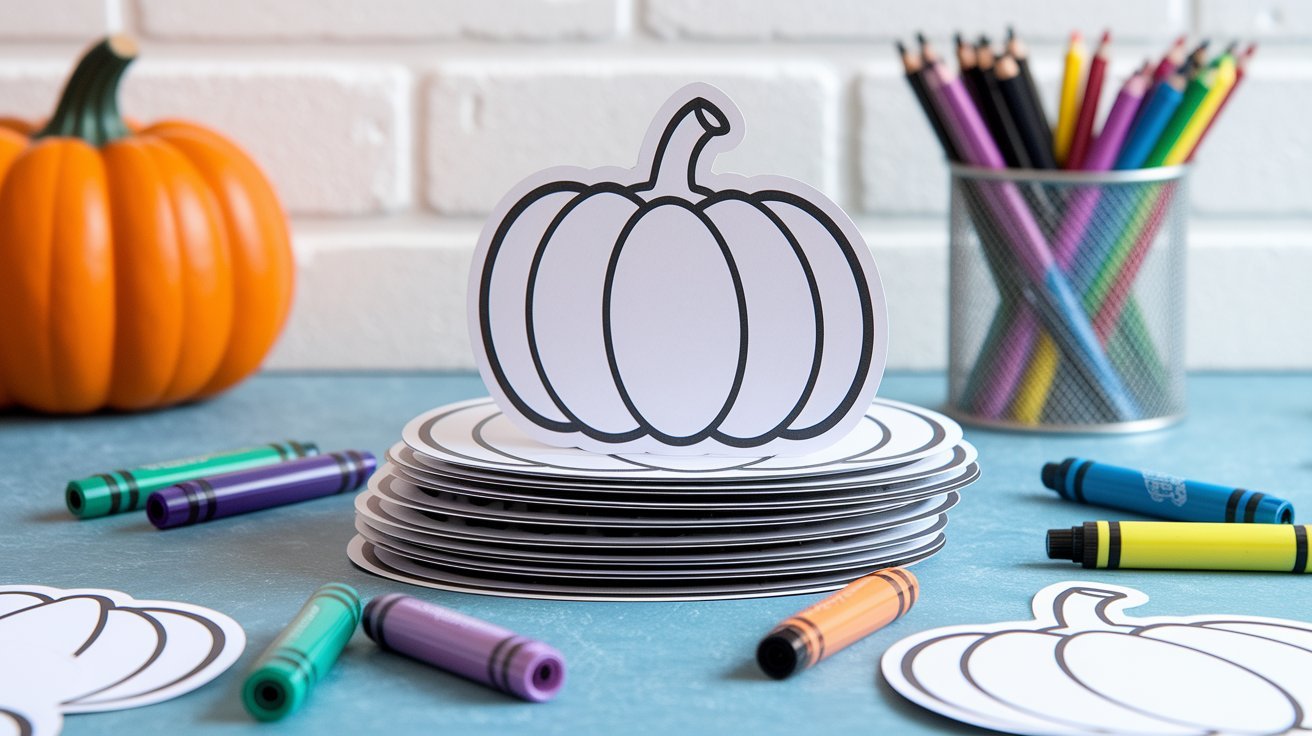
Black and white templates give children complete creative control over colors. Kids enjoy choosing their own color schemes and making decisions about decoration. These templates also use less printer ink, making them budget-friendly for classrooms.
Pre-colored templates save time and work well for younger children. The colors are already applied, so kids focus on cutting and assembly. These templates help when you need quick results or want to reduce the number of supplies needed.
Editable templates allow customization for different name lengths and skill levels. You can adjust sizes to fit available space or accommodate longer names. Size variations help match the craft to different age groups, from simple, large shapes for preschoolers to detailed designs for older children.
Learning Objectives for Pumpkin Name Activities
This craft supports multiple developmental goals while keeping children engaged and entertained.
Name Recognition and Spelling
Children practice identifying individual letters in their names through hands-on placement. Seeing each letter separately helps them understand that names are made of distinct parts. This breaks down the abstract concept of reading into concrete pieces that they can touch and move.
Name sequencing skills improve as kids arrange letters in the correct order. They learn that letter order matters and creates meaning. Repeating this activity with the pumpkin name craft builds automatic recognition of their name’s spelling pattern.
Visual memory develops when children repeatedly see and create their names. The bright colors and fun shapes make the memory stronger. Kids begin recognizing their names quickly in other contexts after this focused practice.
Fine Motor Skill Development
Cutting practice happens naturally as children trim around pumpkin shapes and seeds. Following curved and straight lines builds scissor control. These skills prepare hands for writing and other detailed tasks needed in school.
Gluing techniques improve by deciding how much adhesive to use. Children learn to apply glue neatly without making messes. They practice pressing pieces firmly and holding them until the glue sets properly.
Hand-eye coordination strengthens when kids position small letters on seeds or pumpkins. Placing pieces exactly where intended requires focus and control. The pumpkin name craft provides repeated opportunities to practice these important motor skills.
Creativity and Self-Expression
Color choices let children express their personalities and preferences. Some kids love traditional orange pumpkins while others prefer purple or rainbow versions. Making these decisions builds confidence and personal taste.
Decorating options range from simple faces to complex patterns and designs. Children might add stems, leaves, vines, or backgrounds to their pumpkins. Each choice makes the craft more personally meaningful and increases investment in the learning process.
Personal connection to learning happens when children see their own names featured. The craft becomes about them specifically, not just any random word. This connection makes literacy practice feel relevant and important to young learners.
Using Pumpkin Name Crafts in Different Settings
This versatile activity adapts easily to various learning environments and situations.
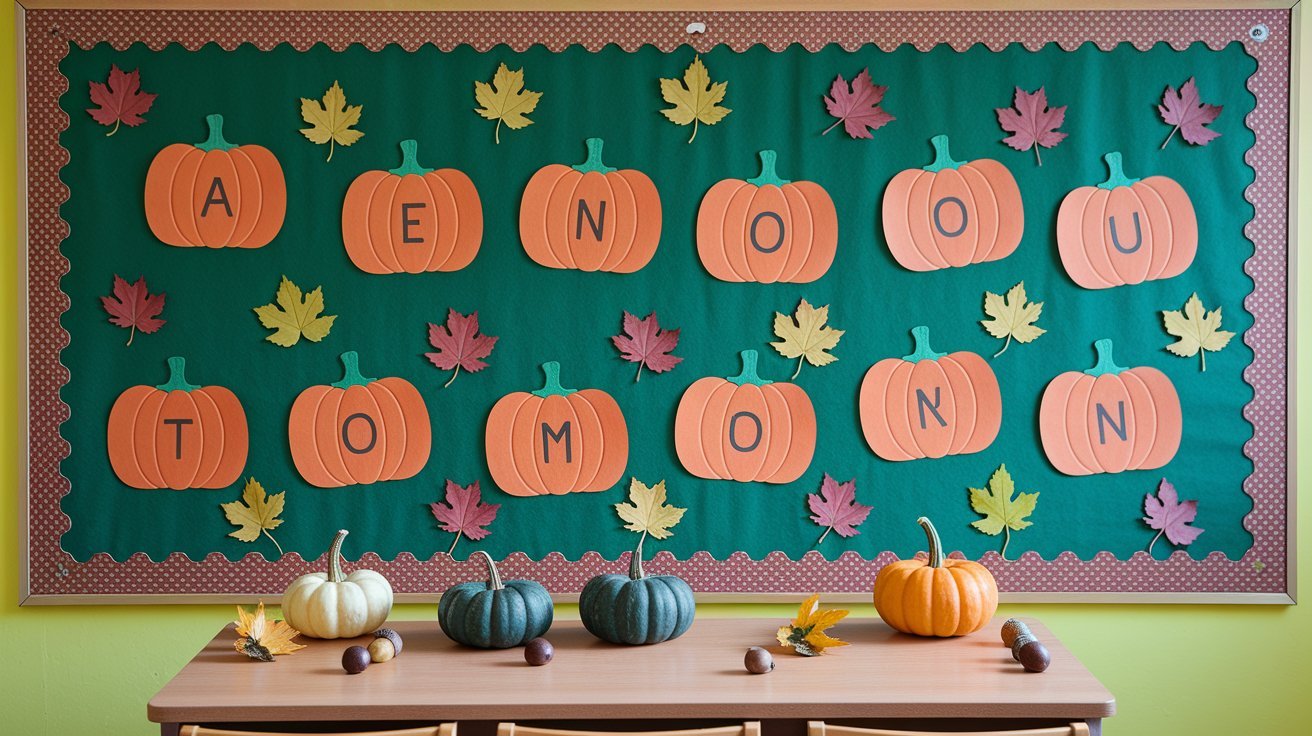
Classroom Bulletin Board Ideas
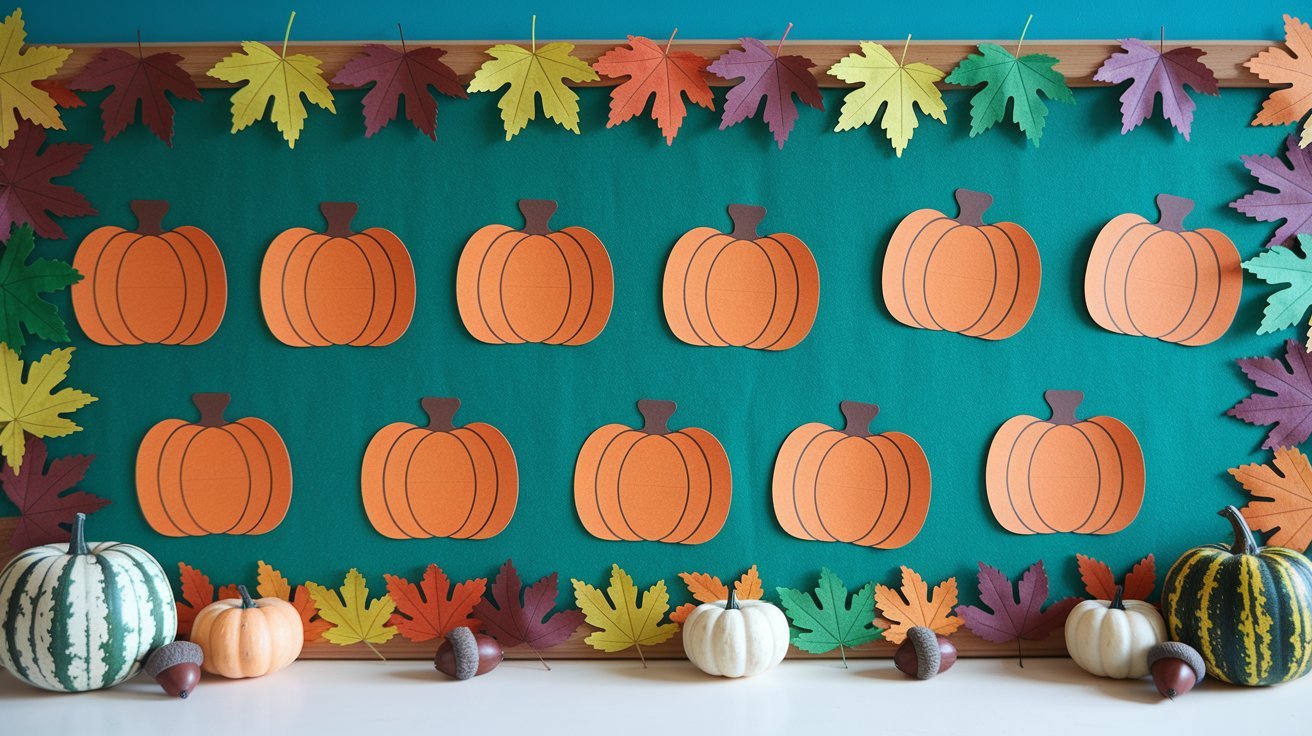
Fall welcome displays greet students with personalized pumpkins at the classroom entrance. Seeing their names prominently displayed helps children feel recognized and valued. The bright decorations create an inviting atmosphere for the new season.
Student name recognition walls serve a practical purpose beyond decoration. Children learn to identify their classmates’ names alongside their own. This builds community and supports social development in the classroom environment.
Seasonal classroom decoration transforms plain walls into engaging learning spaces. The pumpkin name craft provides visual interest while serving educational purposes. Teachers can reference the display during circle time or literacy activities throughout the fall.
Home Learning Activities
Preschool readiness activities at home prepare children for formal schooling. The pumpkin name craft introduces letter recognition in a low-pressure, fun setting. Parents can work alongside children, making learning a shared family experience.
Homeschool craft integration adds hands-on elements to literacy lessons. The activity breaks up worksheet time with movement and creativity. Homeschooling families can extend the craft with related reading or science lessons about pumpkins.
Family craft time brings everyone together for an enjoyable shared project. Siblings can help younger children with cutting or letter arrangement. Creating pumpkins for each family member builds bonds while practicing important skills.
Age-Appropriate Adaptations
Preschoolers ages 3-5 benefit from simple templates with significant adult assistance. Pre-cut the pumpkin shapes and seeds before starting. Let young children focus on placing letters and coloring rather than complicated cutting tasks.
Kindergarteners can handle independent cutting and basic assembly with minimal help. Provide child-safe scissors and supervise for safety. These students feel accomplished in completing more of the pumpkin name craft process themselves.
Elementary students enjoy more complex decorating and writing opportunities. They can create elaborate designs, write full sentences about pumpkins, or make crafts for younger siblings. Older children might design their own templates from scratch rather than using provided patterns.
Creative Pumpkin Name Craft Variations
Mix up the basic concept to keep the activity fresh and engaging across multiple uses.
Different Design Options
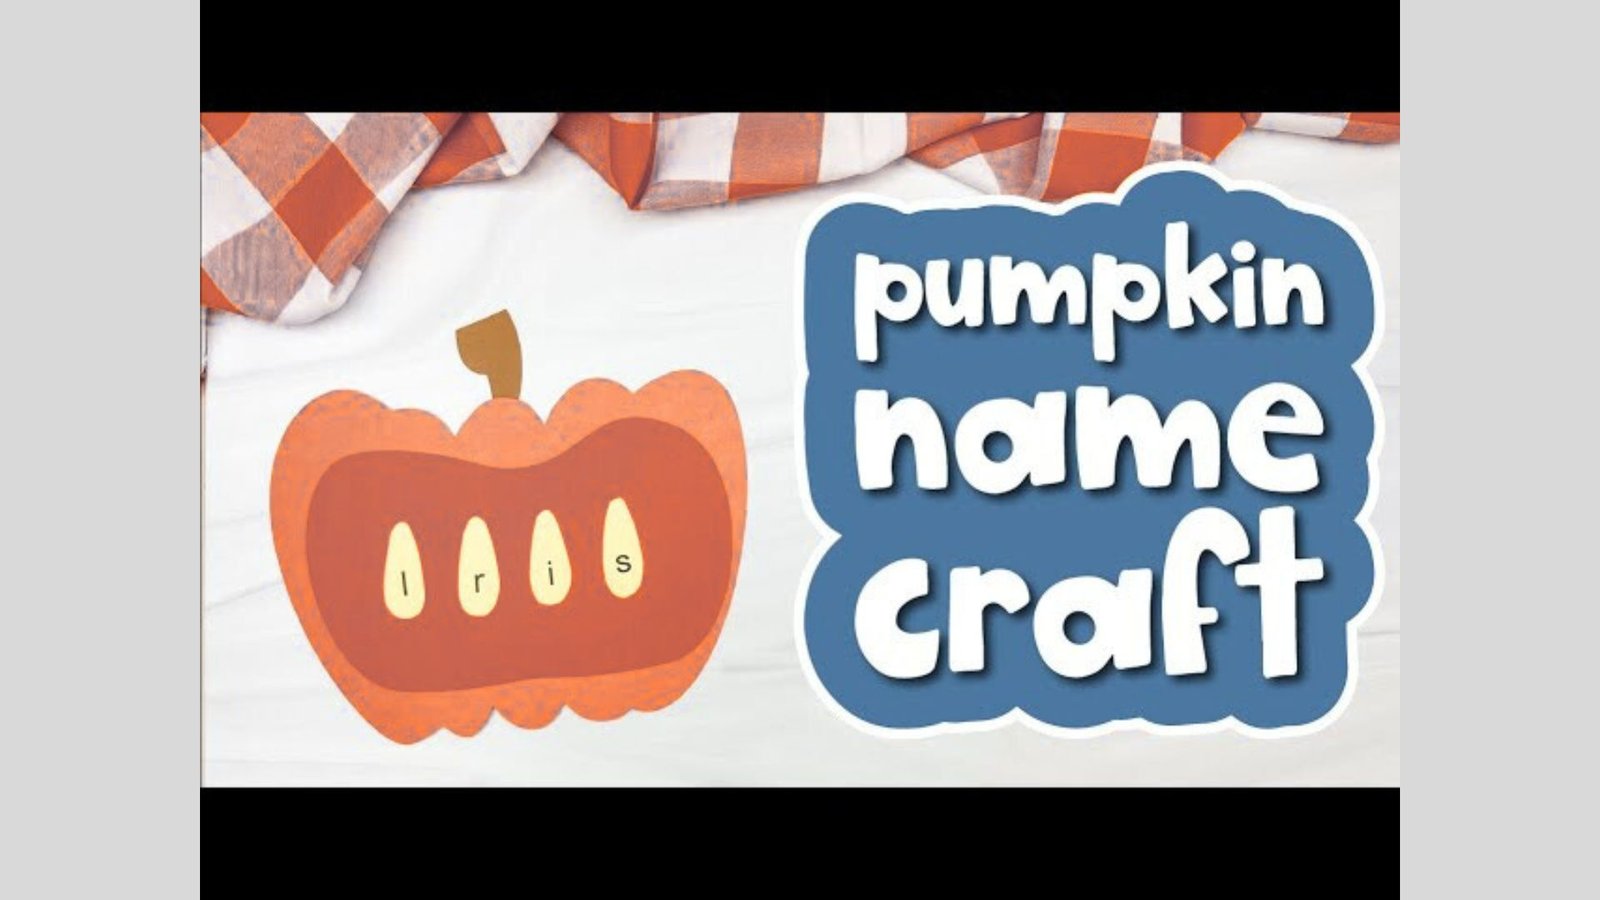
Pumpkin faces with letter teeth create silly, memorable designs. Each tooth contains one letter of the child’s name in order. The funny appearance makes name spelling practice entertaining rather than tedious.
Seeds arranged to spell names work well for longer names needing more space. Scatter seeds around the pumpkin with one letter on each seed. This approach prevents crowding and creates an attractive scattered effect.
Layered pumpkin designs add depth and visual interest to the finished product. Stack different-sized pumpkin shapes or add 3D elements like folded seeds. These advanced variations challenge older children while maintaining the core learning benefits.
Combining with Other Fall Activities
Integration with autumn worksheets creates cohesive thematic units. Complete a pumpkin math worksheet, then make the name craft for art time. This connection helps children see relationships between different subject areas.
Pairing with pumpkin-themed books enhances literacy comprehension and engagement. Read stories about pumpkins or fall harvest before starting the craft. Children connect the hands-on activity with narrative learning for deeper understanding.
Connection to harvest lessons brings science concepts into creative projects. Discuss how pumpkins grow, what they need, and their life cycle. The craft becomes a memorable representation of scientific knowledge gained through other lessons.
Beyond Names: Other Word Practice
Sight words on pumpkins extend the craft’s educational value beyond personal names. Create pumpkins featuring common words like “the,” “and,” or “can.” Children practice reading these essential words in a fun, seasonal context.
Vocabulary building happens when kids make pumpkins for new autumn words. Feature words like “harvest,” “fall,” “leaf,” or “orange” on different pumpkins. This expands language skills while maintaining the engaging craft format.
Letter sound practice incorporates phonics into the pumpkin name craft activity. Focus on the first letter of each child’s name and its sound. Extend to creating pumpkins for different letter sounds throughout the alphabet.
Templates and Printables
Quality templates make preparation easier and results more consistent across different skill levels.
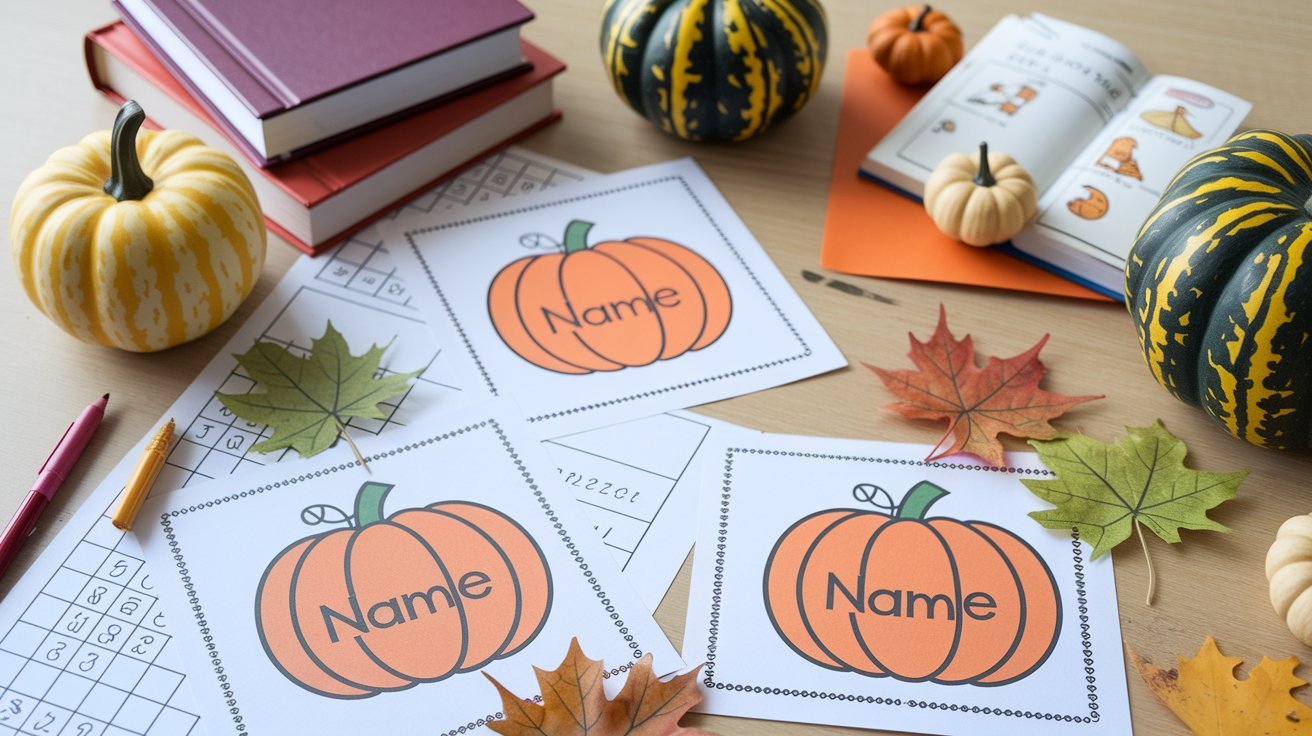
Where to Find Free Templates?

Educational websites offer numerous free pumpkin templates for download. Sites focused on early childhood education often have seasonal craft resources. Check the terms of use to ensure you can use templates for your intended purpose.
Teacher resource platforms provide tested and reviewed template options. Many teachers share their successful designs with the broader education community. These resources often include helpful tips from people who have used the templates in real classrooms.
Customizable options let you adjust templates for specific needs or preferences. Some websites offer editable PDF files you can modify before printing. This flexibility helps you create the perfect fit for your students or children.
Premium vs. Free Options
Benefits of editable templates include perfect sizing for unusual name lengths. Premium templates often feature higher-quality graphics and more design variations. The small investment can save significant time when preparing materials for large groups.
Time-saving considerations matter when planning activities for multiple children. Premium template bundles provide everything needed in one organized package. Free options work well but may require more searching and compiling from different sources.
Quality comparisons show that both free and paid templates can produce great results. Free templates work perfectly fine for most basic pumpkin name craft projects. Premium options shine when you need specific features or want to reduce preparation time significantly.
Tips for Success
Simple strategies to make playtime with your 10-month-old enjoyable, safe, and full of learning opportunities
- Pre-cutting for younger children: Prepare pumpkin shapes ahead of time for children under age 4. Focus their effort on the learning aspects rather than struggling with scissors. This prevents frustration and keeps the activity enjoyable.
- Organizing materials: Set up stations with all supplies before beginning the activity. Use small containers or cups to hold glue, scissors, and markers for each child. Organization prevents chaos when working with groups and helps children work more independently.
- Managing group activities: Demonstrate each step before children begin if working with a class. Use a sample pumpkin name craft to show expected results. This visual guide helps children understand what they’re creating before starting.
- Long names (spacing solutions): Use smaller letters or extend onto multiple pumpkin seeds for children with long names. Some templates include extra seed shapes specifically for this purpose. Another option is using a larger pumpkin template to accommodate more letters comfortably.
- Letter reversal corrections: Gently point out reversed letters and help children fix them before gluing. This is normal at young ages and provides teaching moments. Focus on common reversals like b/d or p/q without making children feel bad about mistakes.
- Keeping pieces organized: Use small bags or envelopes to store cut pieces if completing the craft over multiple sessions. Label each bag with the child’s name to prevent mixing up pieces. This organization helps when working on crafts in short time blocks.
Conclusion
The pumpkin name craft combines engaging seasonal features with important learning opportunities for young children. This simple activity is one by which creative expression and fine motor skills, as well as letter recognition, are built at once. For kids, the hands-on process is enjoyable. They easily train their names in a lively setting.
This flexible skill shifts for each scene, like home meals to school slates. Variations without end plus extensions get support from the concept to keep learning fresh. Templates for free or hand-drawn designs can be used.
Begin your fall season by rewarding yourself through this activity of which children are going to remember long after people take the decorations down. Every single minute for preparation can feel very worthwhile since children feel some pride when seeing their names being displayed.
Frequently Asked Questions
At what age is best for pumpkin name crafts?
This activity works well for children ages 3-8 with appropriate modifications. Preschoolers need more adult help with cutting and letter placement. Kindergarten and elementary students can complete most steps independently.
How long does a pumpkin name craft take to complete?
Most children finish the basic pumpkin name craft in 20-30 minutes. Younger children may need 45 minutes with help. The time varies based on name length, decoration complexity, and the child’s fine motor skills.
Can I use real pumpkin seeds for this craft?
Real pumpkin seeds work wonderfully for this project after cleaning and drying them. Wash seeds thoroughly and let them dry overnight before use. Write letters with permanent markers on the dried seeds.
What if my child’s name is very short or very long?
Short names can use larger letters or add decorative elements to fill space. Long names work with smaller letters or multiple rows of seeds. You can also use just the first name instead of the full name.
Do I need special templates, or can I draw my own?
Both options work perfectly well for creating successful projects. Free downloadable templates save time and provide consistent shapes. Hand-drawn pumpkins allow complete customization and don’t require printer access.